In this post, we’ll show you how to achieve a stunning yet simple Rose Gold 1st Birthday Party setup for your baby girl!
Ready to celebrate your little princess’s 1st birthday with style? Let’s create a picture-perfect Rose Gold Party setup that’s simple, elegant, and unforgettable!
🎀 Step 1: Choose a Gorgeous Color Theme
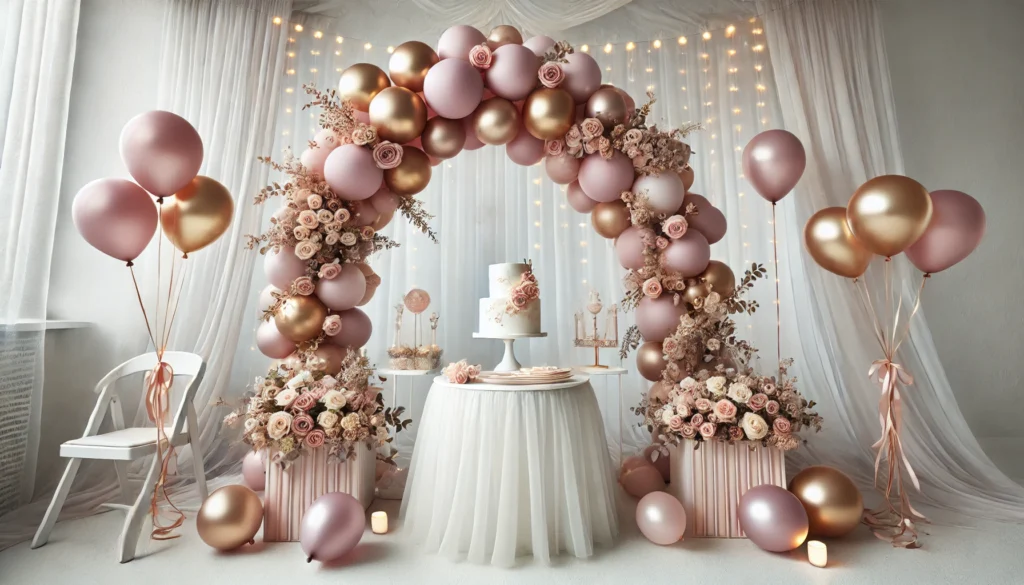
Creating the perfect rose gold theme starts with choosing the right color combination. The goal is to achieve a soft, elegant, and dreamy vibe while keeping it visually balanced. Rose gold should be the standout shade, paired with softer complementary tones that create harmony in the setup.
Stick with a soft and elegant palette that includes:
- Rose Gold for the metallic pop that adds elegance.
- Blush Pink for softness and femininity.
- Cream & White for balance and contrast.
This blend makes the party setup feel luxurious without being overwhelming. Try incorporating these shades throughout the balloons, cake, florals, and even the backdrop for a cohesive look.
Pro Tip: Rose gold pairs beautifully with light pink tones for a dreamy look. Less is more, so focus on a balanced combination!
🎈 Step 2: Balloon Arch with a Big Number 1 Balloon
What You’ll Need:
- Rose gold, blush pink, and cream balloons
- Balloon tape and a pump
- Rose Gold foil number ‘1’ balloon
- Baby’s breath and blush roses
How to Assemble:
- Inflate balloons in different sizes for a layered look.
- Attach them to a balloon arch strip, alternating colors.
- Position the Rose gold foil ‘1’ balloon as the focal point beside the arch.
- Add small floral accents (baby’s breath and roses) into the arch for elegance.
✅ Pro Tip: Mix matte and metallic balloons for added contrast!
🍰 Step 3: Cake Setup with a Personal Touch
What You’ll Need:
- A small white naked cake
- Rose gold cake topper with the baby’s name
- Floral accents (baby’s breath and roses)
How to Style:
- Place the cake on a white cake stand directly on the floor.
- Add the rose gold name topper on top.
- Scatter small floral elements around the cake.
✅ Pro Tip: A minimal cake design keeps the focus elegant without overwhelming the setup.
🧁 Step 4: Minimal Dessert Setup (Keep it Simple!)
What You’ll Need:
- A few cupcakes with rose gold sprinkles
- Cupcake wrappers in matching tones
- One small tray for serving treats
How to Arrange:
- Place the cupcakes next to the cake on the floor setup.
- Use a small, neutral serving tray to hold extra treats.
- Keep desserts minimal to match the theme.
✅ Pro Tip: Limit the dessert selection to keep the design minimal yet classy.
🌸 Step 5: Floral Touches for a Soft Finish
What You’ll Need:
- Baby’s breath and blush roses
- Clear glass vases
- Soft pink ribbons (optional)
How to Style:
- Place small floral arrangements in clear glass vases.
- Scatter vases around the cake and seating area.
- For extra flair, tie pastel ribbons around the vase necks.
✅ Pro Tip: Stick to small vases to avoid overcrowding.
🧺 Step 6: Floor Seating Setup – Cozy and Chic
What You’ll Need:
- Blush pink and cream cushions
- A soft knitted pouf
- Light throws for a cozy feel
How to Arrange:
- Place cushions and throws around the dessert and cake area.
- Use a knitted pouf for added texture.
- Keep the seating low and comfortable for a cozy baby-friendly vibe.
✅ Pro Tip: Floor setups are ideal for baby-friendly celebrations!
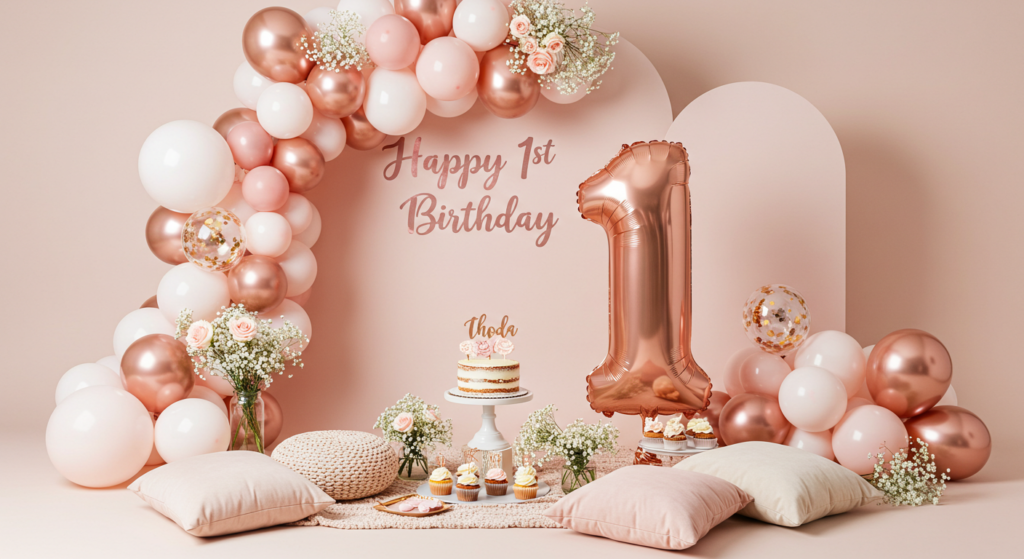
📷 Step 7: Backdrop & Final Personalization
What You’ll Need:
- Soft pink backdrop panels
- “Happy 1st Birthday” in rose gold lettering
- Fairy lights for a magical touch
How to Style:
- Place two pastel pink panels as the backdrop.
- Add the rose gold ‘Happy 1st Birthday’ lettering.
- Finish with fairy lights for a soft, glowing effect.
✅ Pro Tip: The backdrop is perfect for photo opportunities! 📸
🎯 Final Recap: How to Nail the Rose Gold 1st Birthday Look
Creating a stunning Rose Gold 1st Birthday Party is easier than you think! Here’s a quick summary:
- Stick with soft pink, cream, and rose gold hues.
- Keep the balloon arch elegant with a large number 1 balloon.
- Decorate with a naked cake, cupcakes, and light floral touches.
- Floor seating with cushions keeps it baby-friendly.
- Add a personalized cake topper and a backdrop for that wow factor.
🌸 You’ve Got This! Share your beautiful party photos with us using #CraftTheParty – we can’t wait to see your setups! 🎉